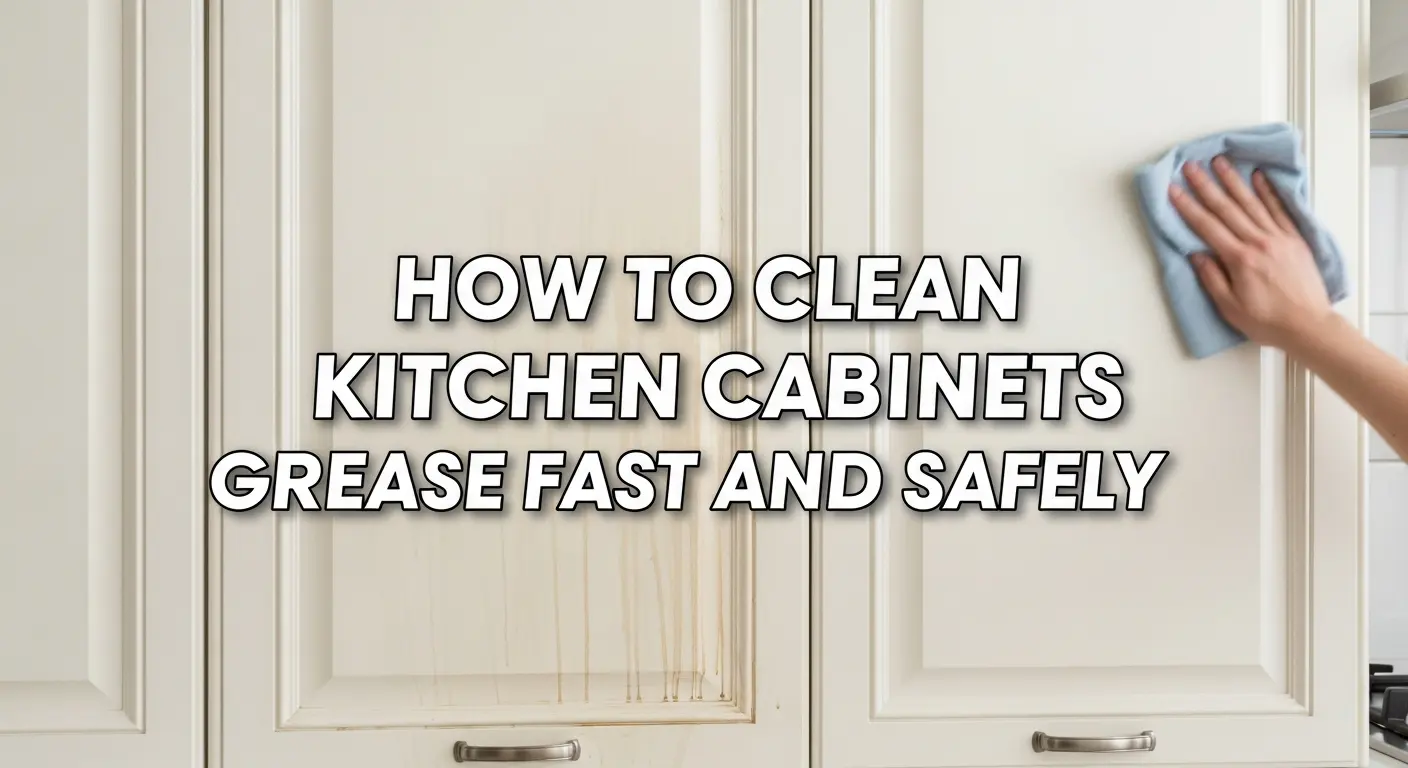
how to clean kitchen cabinets grease Fast and Safely
To clean kitchen cabinets grease, mix warm water with dish soap or vinegar. Dip a soft cloth or sponge, wipe surfaces, and rinse with clean water.
For stubborn spots, apply a paste of baking soda and water. Dry with a microfiber cloth to protect the finish and keep cabinets looking fresh.
If grease buildup is persistent or your cabinets need extra care, consider professional help.
Why Grease Builds Up & Why It Matters
Grease is inevitable, but it doesn’t have to be permanent. A routine cleaning habit prevents deep buildup and saves you from costly restoration later.
What kitchen grease is made of:
- Oils and fats released during frying, sautéing, or baking
- Steam and airborne particles that carry residue across the kitchen
- Food splatter that lands directly on cabinet fronts
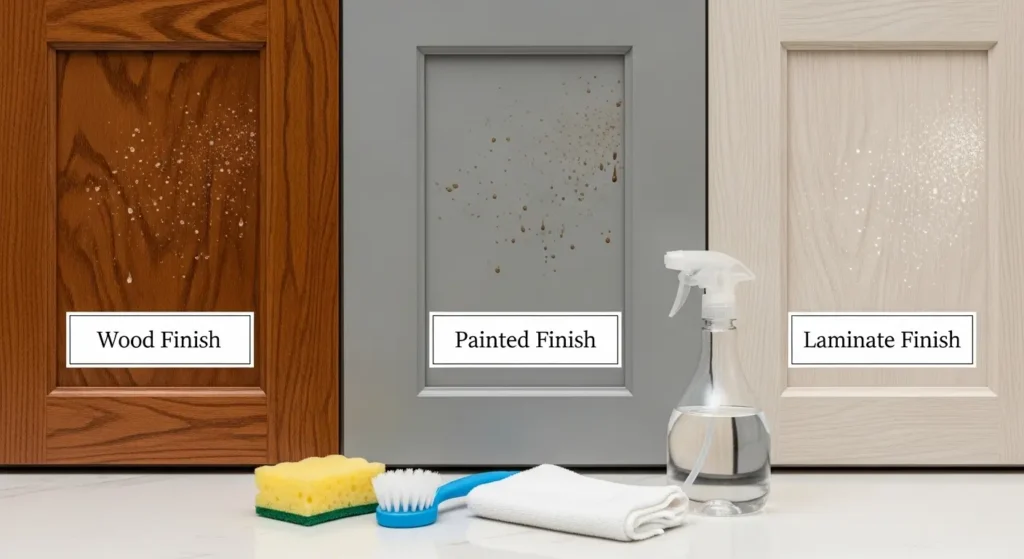
How grease affects different cabinet finishes:
- Wood cabinets: absorb oils, darken, and lose their protective seal if not cleaned
- Painted cabinets: show discoloration, chipping, or bubbling when grease breaks down paint layers
- Laminate cabinets: may resist penetration but still collect a glossy, stubborn film that dulls the surface
Ignoring buildup doesn’t just look bad, it can shorten the lifespan of your cabinets. Studies on indoor air quality show that cooking generates fine particles that settle quickly, and once trapped in grease layers, they attract dust, dirt, and even bacteria. That means grease isn’t only a cosmetic issue, it’s a hygiene problem too.
Why regular cleaning matters:
- Maintains appearance and shine
- Reduces odor and sticky residue
- Protects surfaces from permanent staining or damage
- Keeps kitchens healthier and easier to maintain
If cabinets feel tacky even after wiping or the finish looks cloudy, it may be time to consider professional cabinet cleaning services. Pros use safe products designed for wood, paint, or laminate finishes and can restore surfaces without stripping or scratching.
Quick Assessment: What You’re Dealing With
Knowing your cabinet type and the level of grease buildup makes cleaning faster, safer, and more effective. Start small, choose the right tools, and you’ll prevent unnecessary damage while restoring shine.
1. Identify your cabinet finish and condition:
- Sealed wood: has a protective coating, resists water and mild cleaners, but harsh scrubbing can remove the seal
- Bare wood: more delicate, prone to staining, needs gentle cleaning solutions
- Painted cabinets: can chip or discolor if abrasive products are used
- Laminate: durable and smooth, usually withstands stronger cleaners but can dull with repeated harsh scrubbing
2. Assess the grease buildup:
- Light film: a thin, sticky layer that wipes away with mild soap
- Thick sticky layers: hardened oil residue that may need a stronger degreaser or a soft scrub
- Old baked-on grease: dark, stubborn, often requiring repeated cleaning or specialized products
3. Tools and safety considerations:
- Gloves protect skin from oils and cleaning solutions
- Ventilation keeps fumes from chemicals or vinegar from building up
- Soft cloths, sponges, and brushes prevent scratching delicate surfaces
- Test a small area first to ensure your cleaner won’t damage the finish
For delicate wood surfaces, we recommend custom cabinetry & countertops to protect finishes and restore shine.
Tools & Materials You’ll Need
Gather your tools and cleaners first. A prepared workspace and the right materials make removing grease faster, safer, and more thorough, while keeping your cabinets intact.
Essential Tools:
- Microfiber cloths: gentle on all surfaces, ideal for wiping grease without scratching
- Soft sponges: non-abrasive, perfect for scrubbing sticky areas
- Soft-bristled brushes: toothbrush or small detailing brush for corners and crevices
- Spray bottles: for mixing homemade solutions or applying commercial cleaners evenly
Effective Cleaning Agents:
- Dish soap: mild, safe for most finishes, ideal for daily grease
- White vinegar: natural degreaser, works well for light buildup
- Baking soda: forms a gentle paste for stubborn, sticky spots
- Commercial cabinet cleaners: specialized formulas for wood, painted, or laminate surfaces
Optional but Helpful:
- Gloves: protect hands from oils and chemicals
- Ventilation fan or open window: keeps air fresh when using vinegar or commercial products
- Buckets or bowls: for mixing solutions and rinsing cloths
What to Avoid:
- Harsh scrubbing pads or steel wool on wood or painted surfaces
- Strong bleach or ammonia solutions that can strip finishes
- Excess water left on surfaces, which can warp wood over time
Cleaning knobs, handles, and crevices can be tricky without guidance, which is why our interior kitchen remodeling services focus on every detail.
Step-by-Step Cleaning Process
A systematic approach prevents missed spots, protects finishes, and leaves cabinets grease-free and shiny. Regular maintenance keeps cleaning easier and preserves your kitchen’s appearance.
1. Prep Your Cabinets
- Remove items from shelves and countertops.
- Wipe off loose dust or crumbs with a dry microfiber cloth.
- Open windows or turn on ventilation to keep air fresh.
2. Make Your Cleaning Solution
- Light grease: Mix warm water with a few drops of dish soap.
- Stubborn grease: Combine white vinegar with water or make a baking soda paste.
- Always test a small hidden area first to ensure the finish is safe.
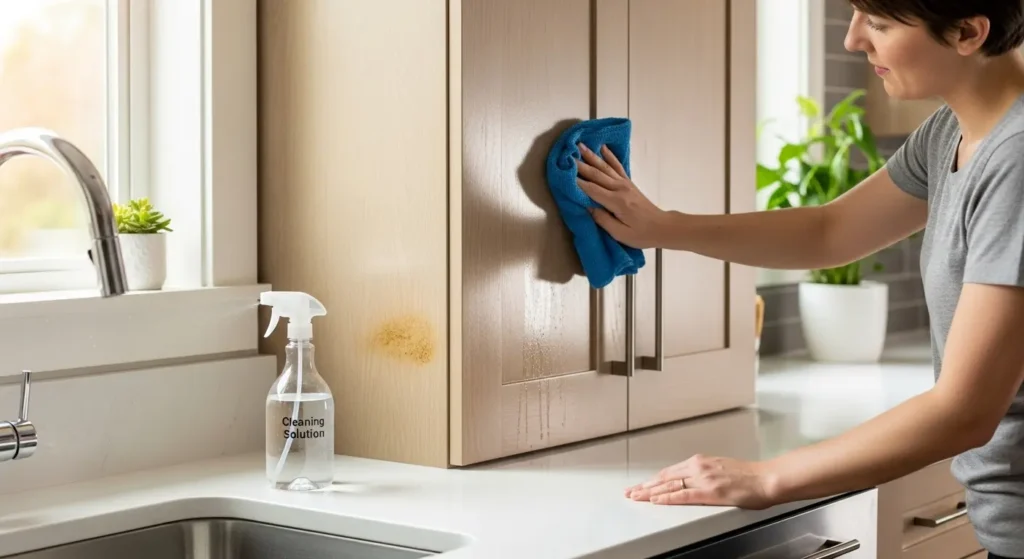
3. Wipe Down Surfaces
- Dip a soft cloth or sponge in the solution, wring out excess water.
- Wipe cabinet doors, frames, and handles in gentle, circular motions.
- Use a toothbrush or small brush for corners, edges, and crevices.
4. Tackle Tough, Baked-On Grease
- Apply a baking soda paste or commercial degreaser to problem spots.
- Let it sit for a few minutes to soften the grease.
- Gently scrub with a soft sponge, avoiding excessive pressure.
5. Rinse and Dry
- Wipe off any remaining cleaning solution with a clean, damp cloth.
- Dry immediately with a microfiber towel to prevent streaks or water damage.
6. Buff and Restore Shine
- For wood cabinets, lightly buff with a dry cloth to enhance the natural luster.
- For painted or laminate surfaces, ensure all residue is removed to avoid streaks.
Cabinets above the stove often collect the most grease; proper kitchen remodeling projects can help prevent long-term buildup.
Special Cases:
Cabinets Above Stove, Painted vs. Wood vs. Laminate, Hardware Cleaning
High-grease areas, delicate finishes, and hardware require tailored cleaning. Understanding the nuances ensures a thorough, safe, and efficient result.
See how we transform kitchens and cabinetry in our project gallery for inspiration and ideas.
1. Cabinets Above the Stove
- These surfaces accumulate the most grease due to steam and cooking oil.
- Use a stronger degreasing solution, like a vinegar-water mix or baking soda paste.
- Work in small sections, wiping away softened grease before it hardens.
- Ventilate the area and wear gloves, since prolonged scrubbing can irritate skin.
2. Different Cabinet Finishes
| Finish Type | Cleaning Tips | Notes |
|---|---|---|
| Wood (sealed) | Mild soap or wood-friendly cleaner, soft cloth | Avoid soaking; can strip sealant |
| Bare wood | Minimal water, gentle cleaner | Excess moisture may stain or warp |
| Painted | Dish soap or gentle cleaner, avoid abrasive pads | Test in small area to prevent chipping |
| Laminate | Soap solution or mild degreaser | Durable, but repeated harsh scrubbing dulls shine |
3. Hardware, Hinges, and Handles
- Remove knobs and handles if possible for deep cleaning.
- Soak metal hardware in warm, soapy water for 5–10 minutes.
- Use a soft brush to remove grease in corners or grooves.
- Dry thoroughly before reattaching to prevent rust or water damage.
Maintenance & Prevention Tips
Routine cleaning, proper ventilation, and using the right products keep cabinets looking fresh, reduce cleaning time, and protect surfaces from long-term damage.
1. Wipe Spills Immediately
- Clean splatters and drips as they happen, especially near the stove.
- Use a damp microfiber cloth with mild soap for quick touch-ups.
2. Establish a Regular Cleaning Schedule
- Light cleaning every 1–2 weeks keeps grease from hardening.
- Deep cleaning every 2–3 months prevents buildup in hard-to-reach areas.
3. Improve Kitchen Ventilation
- Use exhaust fans or range hoods while cooking.
- Open windows to reduce steam and airborne grease particles.
4. Use Protective Measures
- Consider cabinet liners near high-grease areas.
- Avoid letting water or cleaning solutions sit on wood surfaces.
5. Choose the Right Tools and Products
- Stick to soft cloths, non-abrasive sponges, and gentle cleaners.
- Avoid harsh chemicals that can strip finishes or paint.
When to Call a Professional
If grease buildup is persistent, cabinets are delicate, or time is short, professional cleaning ensures a safe, effective solution and preserves the life of your kitchen cabinets.
Signs you might need professional help:
- Stubborn grease or stains that won’t budge after multiple cleaning attempts
- Damaged finishes such as peeling paint, warped wood, or stripped sealant
- Hard-to-reach areas like deep corners, above-stove cabinets, or intricate moldings
- Time constraints if regular maintenance isn’t feasible
Benefits of professional cabinet cleaning:
- Experts use safe, specialized products for wood, paint, or laminate
- Deep cleaning restores shine without risking scratches or chemical damage
- Saves hours of scrubbing while ensuring a consistent, thorough result
If DIY cleaning isn’t enough, schedule professional support for your kitchen cabinets today by contacting Vexkitch.
Recommended Products & Natural Alternatives
A combination of safe commercial cleaners and simple natural solutions keeps cabinets grease-free without risking damage. Matching the cleaner to your cabinet type ensures the best results with minimal effort.
1. Trusted Commercial Cleaners
- Murphy Oil Soap: Ideal for sealed wood cabinets, gently removes grease without stripping finish
- Method Daily Granite or All-Purpose Cleaner: Works on painted or laminate surfaces, leaves a streak-free shine
- Krud Kutter or Goo Gone Kitchen Degreaser: Stronger formula for tough, baked-on grease, safe for most finishes when used carefully
2. Natural / DIY Alternatives
- Dish soap + warm water: Quick, gentle solution for light grease
- White vinegar + water (1:1): Natural degreaser, effective on moderate buildup
- Baking soda paste: Mix with a little water to tackle stubborn spots, ideal for localized areas
- Lemon juice: Adds mild acidity to break down grease and leave a fresh scent
3. Tips for Use
- Always test cleaners on a small, hidden area first to protect finishes
- Apply solutions with a soft cloth or sponge, never pour directly onto surfaces
- Avoid over-wetting wood cabinets to prevent warping or staining
Common Mistakes and How to Avoid Them:
| Common Mistake | Why It’s a Problem | How to Avoid |
|---|---|---|
| Over-scrubbing / abrasive tools | Scratches wood, paint, laminate | Use soft sponges, microfiber cloths, gentle brushes |
| Harsh chemicals (bleach, ammonia) | Strips sealants, discolors paint | Stick to mild dish soap, vinegar, baking soda, or cabinet-safe cleaners |
| Leaving water on surfaces | Warps wood, lifts paint, leaves streaks | Wring cloths well, dry immediately after cleaning |
| Ignoring hardware & corners | Grease spreads back onto cabinets | Remove knobs/handles, clean edges and crevices |
| Skipping regular cleaning | Grease hardens, harder to remove, shortens cabinet life | Light cleaning every 1–2 weeks to prevent buildup |